
If you're getting started with Service Manager you may have stumbled across some articles online that here n there make mention of this "Authoring Tool" or perhaps you are consuming management packs through various online channels and at the end of day scratching your head asking "How do you even build these things?"
The Service Manager Authoring Tool (available here) allows people working within the SCSM space to create and author their own management packs. The SM Authoring tool is essentially a heavily stripped down and modified version of Visual Studio which is a tool used by developers to code and builds applications, I digress. Management packs as you may already have surmised are a way to extend the core functionality of Service Manager. Make no mistake, if you want to use Service Manager to it's fullest potential, get creative in your own way, OR change something you don't like you will HAVE get comfortable with this tool and creating your own custom management packs. So leave the hesitation at the door!
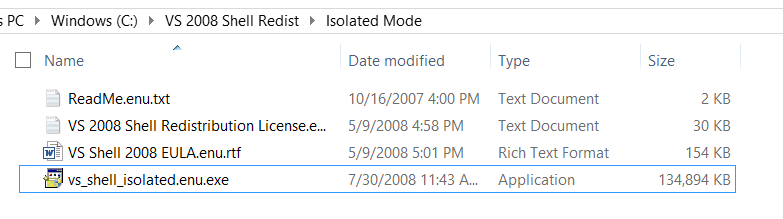
After you've downloaded and attempted to install the Authoring tool... oh right. Let's back up a second because before I go any further you may be struggling with the actual installation of the authoring tool.
 |
| Look familiar? |
 |
| Well this was clearly intuitive... |
But what kind of stuff do I even want to extend in Service Manager?
A perfectly fair question, so let's start with something really simple and a frequent complaint of any IT department working inside of the Service Manager console...
Alright, seriously. The Incident form. It's great and detailed... but could the description window be any smaller? What gives Microsoft? Why can't it auto size based on content?
And to that I say, let's start authoring!!! So once you get the Authoring tool open, you'll want to head over to the lower right hand corner of your screen, because this is going to be your starting point for virtually anything you want to do when it comes to modifying and customizing your Service Manager deployment.
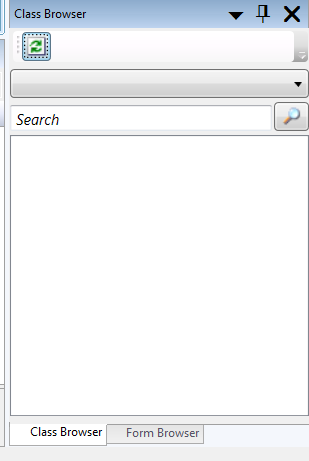 |
| It's rather empty. I know. |
Your Class Browser is going to let you study and view everything you see in the Service Manager console. When I say everything, I mean everything. The way forms are rendered, the way data is held on those forms, etc. Never the less, let's get back on track. Let's make it so the Incident form inside of Service Manager has a description field that auto-expands. To do that, hit the Refresh button to populate the list...a bit weird I agree, but none the less necessary. Then hit the Form Browser tab on the bottom there.
Next, you'll want to search for the Incident form. Right click on it and hit view. Once open, it should look pretty familiar if you've been working in the console.
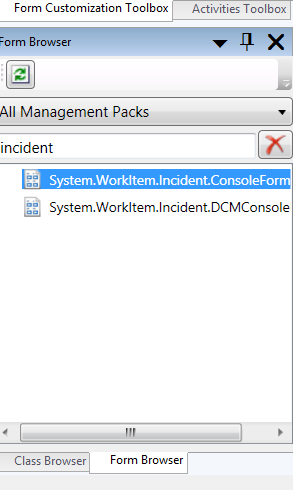 |
| Right click and hit "View" |
Search for the Incident form. Right click on it and hit view. Once open, it should look pretty familiar if you've been working in the console.

As you can probably guess, you'll need to hit the Customize button and then...

You get a "warning" about how any changes must be saved in an unsealed management pack. Go ahead and hit New, pick a file location, and name your management pack. I called mine "IncidentFormCustomizations"

You'll see that your new management pack is listed beneath the sealed Microsoft management pack. What makes SCSM so awesome is that if you don't like what Microsoft built (i.e. that the description field doesn't auto-expand) you can add customizations on top of their out of box defaults. Making this program crazy powerful. It means you can add and drop custom management packs at whim and not compromise core SCSM functionality!
Click on the Description area and beneath look for the "Height" property. Take note of the Width property below it - it says "Auto" and as you have guessed the Height property can be set to this rather than a strict pixel value. Change it to "Auto" then save your management pack. Then within the Service Manager console Administration pane click on "Import Management Pack" and navigate to the location you just created/saved your new management pack in.
Boom. You're done.
Now before you saved and imported your fancy new management pack; you may have noticed a bunch of other properties you could have modified before saving and importing. Again, good news here is that you can modify at whim, import, play, and see your results without risk of breaking core functionality. Granted there isn't anything particularly exciting about this specific change but hopefully it does incentivize you to start playing within this space. Going forward I hope to add some new ideas in the SCSM space to help you and your respective organization extend SCSM functionality.
0 comments:
Post a Comment